
By Jenna Lehman on Mar. 29, 2025
These fall-off-the-bone baby back ribs are slow-baked to perfection, ensuring tender, juicy meat with a rich, smoky flavor. Coated in a flavorful rub and caramelized with a sticky glaze, they deliver the perfect balance of savory, sweet, and smoky in every bite.

Baking baby back ribs in the oven allows for a slow, gentle cook that breaks down the connective tissues, resulting in unbelievably tender, fall-off-the-bone meat. A well-seasoned dry rub infuses the ribs with deep, smoky flavors, while the low and slow heat ensures they stay juicy and flavorful. As they bake, the natural fats render down, creating a rich, succulent texture. A final layer of sauce, brushed on during the last stage of cooking, caramelizes beautifully, adding a sticky-sweet finish with just the right amount of char. The result is irresistibly tender ribs that are packed with bold flavor—no grill required!
Ingredients
Pork Baby Back Ribs – Tender and juicy, baby back ribs are taken from the upper ribcage of the pig and are known for their lean yet flavorful meat. Their small size and slightly curved shape make them perfect for slow cooking, where the meat becomes fall-off-the-bone tender and absorbs flavors beautifully.
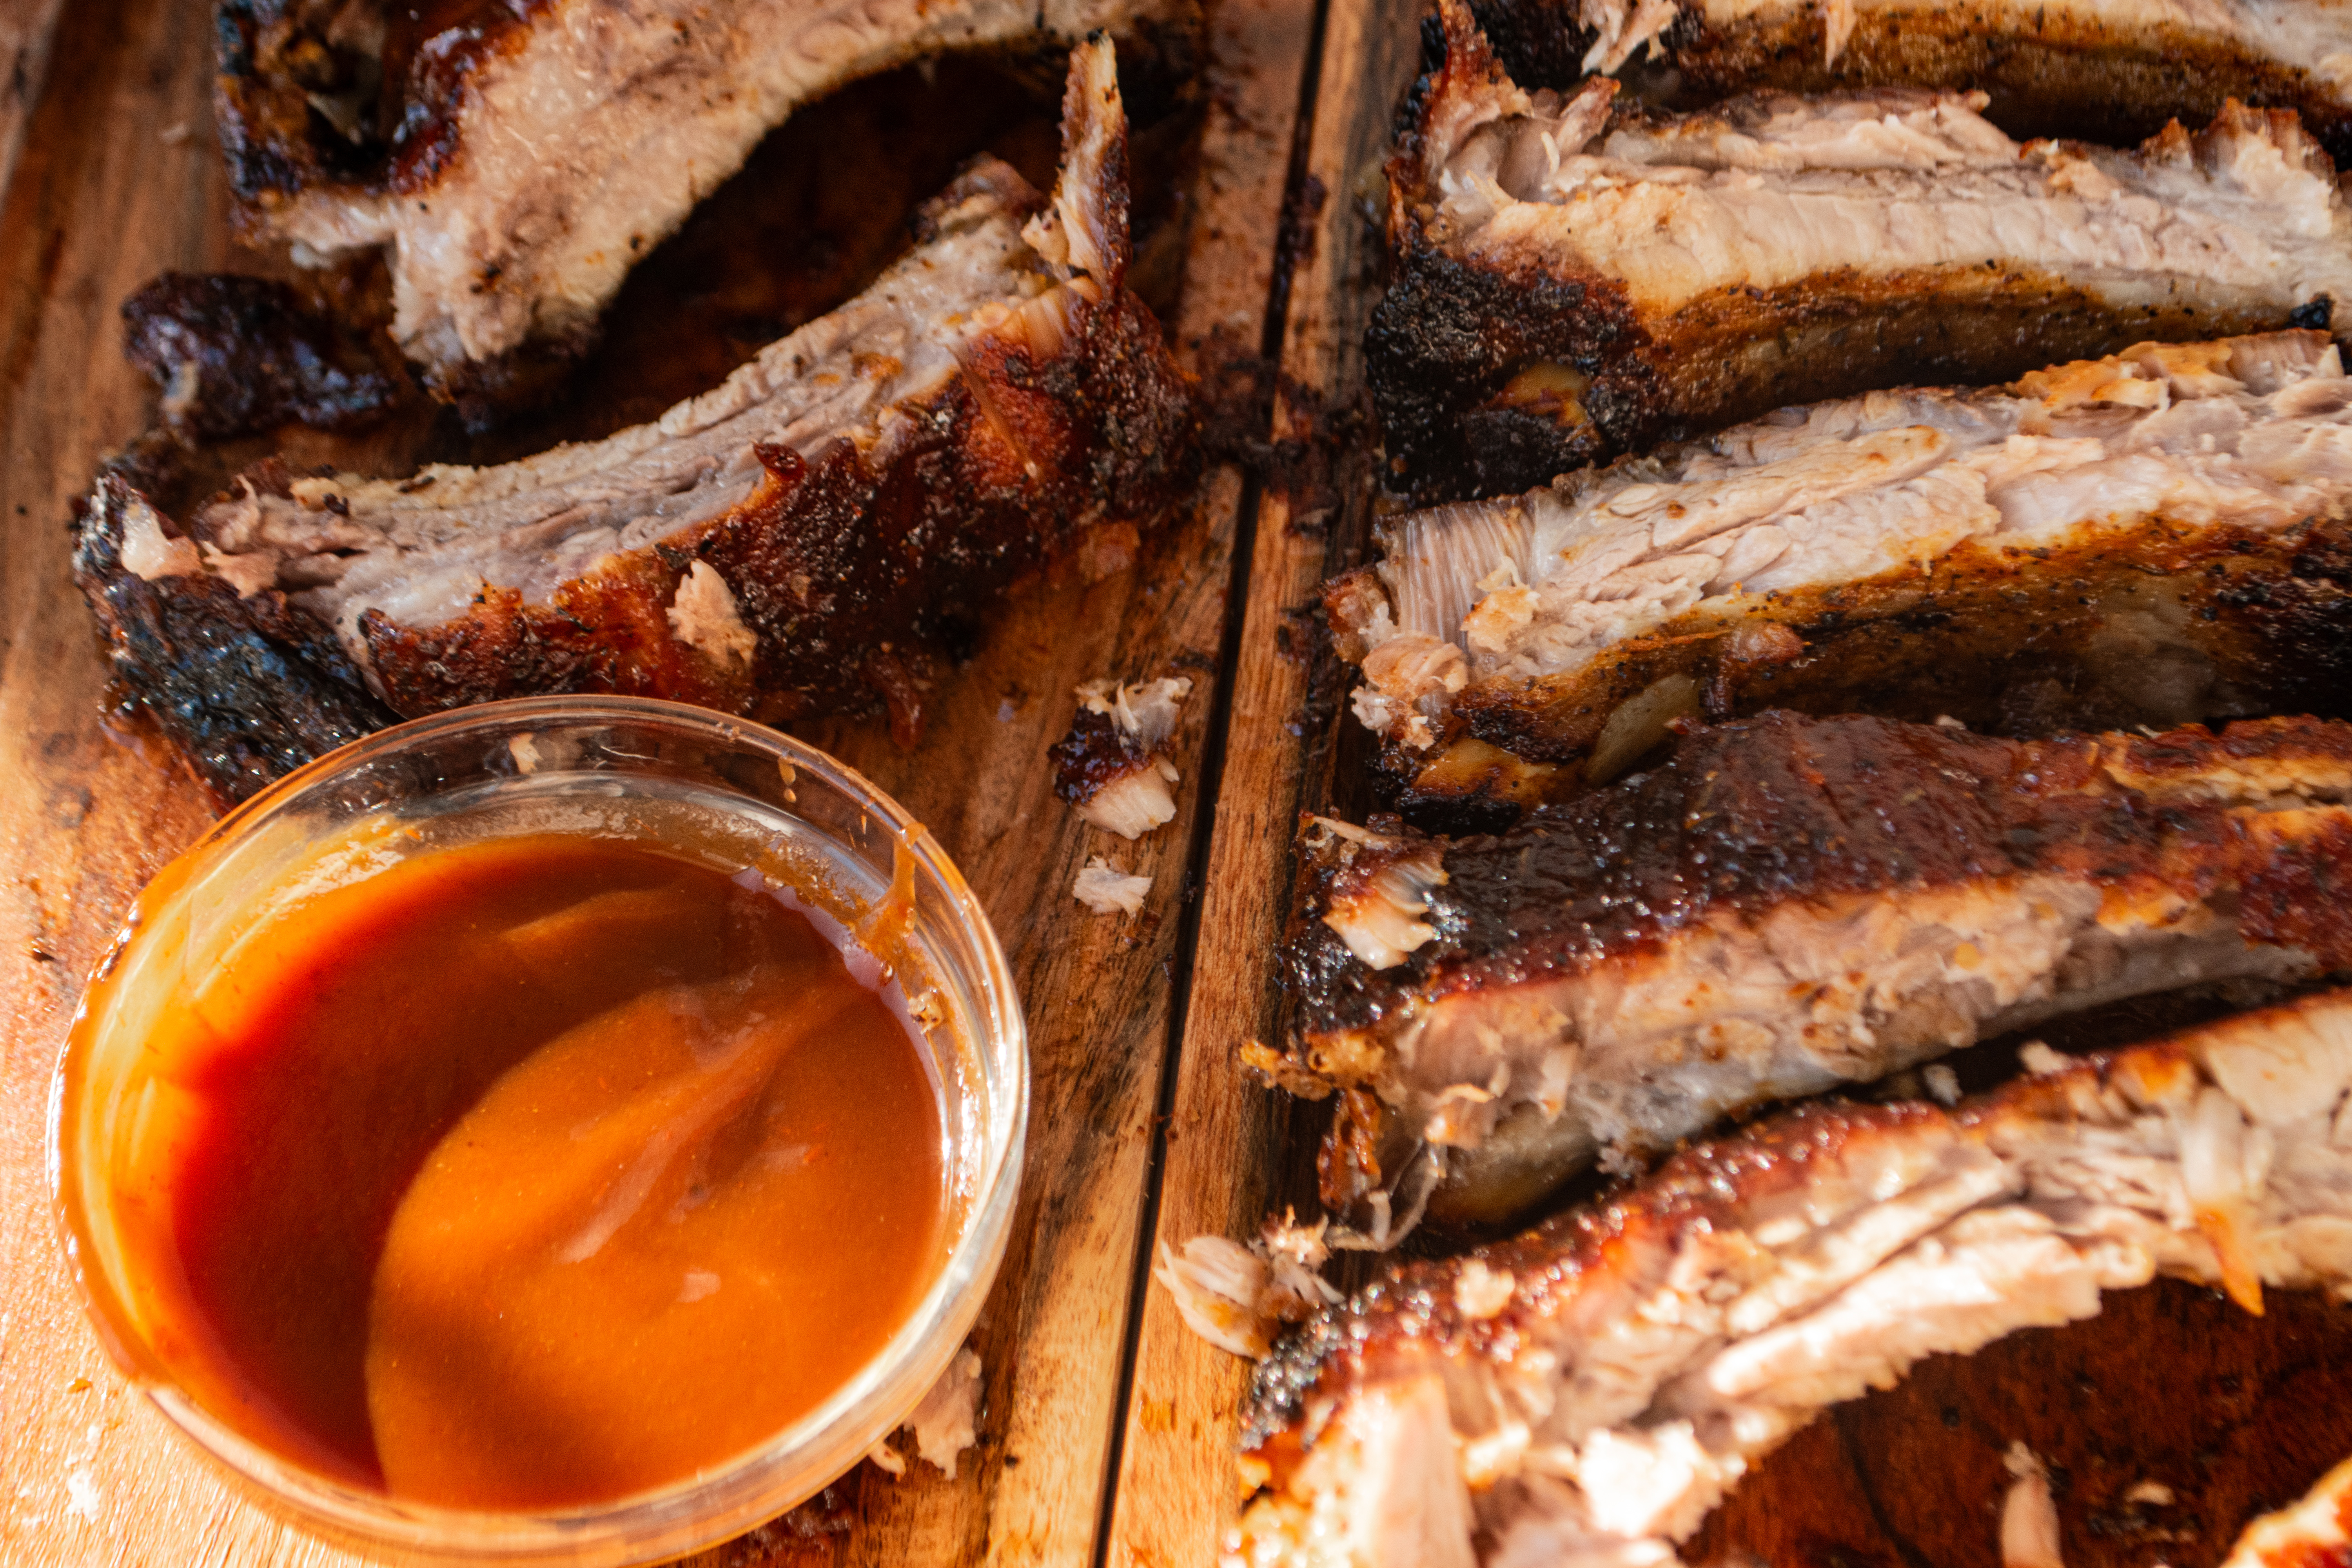
Barbecue Sauce – Rich and tangy, barbecue sauce adds a sweet, smoky finish to the ribs. With a balance of flavors like vinegar, sugar, and spices, it caramelizes on the ribs during baking, creating a glossy, sticky coating that enhances the overall taste and texture.
Dry Rub – A blend of spices and seasonings such as paprika, brown sugar, salt, pepper, and garlic, dry rubs are applied to the ribs to create a flavorful crust. The rub imparts savory and smoky flavors, helping to tenderize the meat while developing a slightly crispy exterior during cooking.
Olive Oil – Olive oil serves as a base for the dry rub, helping it adhere to the ribs while also providing moisture. It contributes a subtle richness and enhances the overall texture, ensuring the ribs remain juicy as they cook.

Recipe
Start by removing the tough membrane from the back of the ribs. To do this, slide a butter knife underneath the membrane and gently lift it up. Use a paper towel to grip and pull it off, as it can be slippery.
Pat the ribs dry with a paper towel to remove any excess moisture. Drizzle a small amount of olive oil over the ribs and use your hands, a glove, or a basting brush to evenly coat them. Generously apply your dry rub, ensuring it’s evenly distributed over the meat for maximum flavor.
Set your oven to preheat while the ribs “sweat” from the seasoning—this is a good sign, as it helps the rub set into the meat.
Line a shallow baking sheet (with edges) with aluminum foil to catch any excess oil. Place the seasoned ribs on the sheet, making sure they’re laid flat.
Bake the ribs at 350°F (150°C) for 1 hour and 40 minutes. After this time, check for doneness by gently inserting a toothpick into the meat—it should slide in with little resistance.
Increase the oven temperature to 450°F (230°C) and bake the ribs for an additional 20 minutes to achieve a crispy, caramelized exterior.
Remove the ribs from the oven, then generously brush with your favorite barbecue sauce. Return them to the oven for 3-5 more minutes to allow the sauce to set and become slightly caramelized.
Once done, remove from the oven, slice into individual ribs, and serve immediately for a delicious, tender, and flavorful meal!

BBQ Oven-Baked Baby Back Ribs
4
servings15
minutes2
hours2
hours15
minutesKeep the screen of your device on
Ingredients
Whole rack of baby back ribs
Barbecue
Dry rub
Olive oil
Directions
- Start by removing the tough membrane from the back of the ribs. To do this, slide a butter knife underneath the membrane and gently lift it up. Use a paper towel to grip and pull it off, as it can be slippery.
- Pat the ribs dry with a paper towel to remove any excess moisture. Drizzle a small amount of olive oil over the ribs and use your hands, a glove, or a basting brush to evenly coat them. Generously apply your dry rub, ensuring it’s evenly distributed over the meat for maximum flavor.
- Set your oven to preheat while the ribs “sweat” from the seasoning—this is a good sign, as it helps the rub set into the meat.
- Line a shallow baking sheet (with edges) with aluminum foil to catch any excess oil. Place the seasoned ribs on the sheet, making sure they’re laid flat.
- Bake the ribs at 350°F (150°C) for 1 hour and 40 minutes. After this time, check for doneness by gently inserting a toothpick into the meat—it should slide in with little resistance.
- Increase the oven temperature to 450°F (230°C) and bake the ribs for an additional 20 minutes to achieve a crispy, caramelized exterior.
- Remove the ribs from the oven, then generously brush with your favorite barbecue sauce. Return them to the oven for 3-5 more minutes to allow the sauce to set and become slightly caramelized.
- Once done, remove from the oven, slice into individual ribs, and serve immediately for a delicious, tender, and flavorful meal!
Notes
- For extra tenderness add an oven-safe dish, filled with a little water, at the bottom of the oven
- Insert a disposable toothpick into the uncooked ribs to know the difference for when they’re done
check us out on pinterest!
hi i’m jenna
Welcome to Heavenly Harvested! I’m Jenna, a homemaker living in Southwest Florida with my husband, our animals, and a heart for creating a home filled with simple joys. Heavenly Harvested started with recipes, but it became something much bigger: a reminder that ordinary days are sacred and that God’s blessings are found around our tables, in our homes, and in the little moments we often overlook.

Leave a Reply